Are you ready to embark on a tail-wagging adventure into the world of canine artistry? Whether you’re a seasoned sketcher or a novice with a pencil, this comprehensive guide will walk you through the process of drawing dogs step by step.
We’ll cover everything from choosing the right materials to mastering advanced techniques, ensuring your furry friends leap off the page with life and personality.
Materials You’ll Need: Setting Up Your Artistic Arsenal
Before we dive into the nitty-gritty of dog drawing, let’s round up the essentials:
- Pencils (HB, 2B, 4B, and 6B)
- Eraser (kneaded and rubber)
- Sketchpad or drawing paper
- Reference images of dogs
- Optional: Colored pencils or watercolors
Pro Tip: Invest in quality materials. They’ll make your artistic journey smoother and more enjoyable.
The Step-by-Step Guide to Drawing a Dog
Step 1: Choose Your Reference Image
Selecting the right reference image is crucial. Look for clear, high-resolution photos that showcase the dog’s features and pose you want to capture. Consider starting with a side profile for your first attempt. it’s often easier to get proportions right from this angle.
You may want to Read: The Boy is Mine Lyrics – Ariana Grande
Step 2: Sketch the Basic Shapes
Start with simple geometric shapes. A circle for the head, an oval for the body, and cylinders for the legs will form the foundation of your drawing. Don’t worry about details yet, focus on getting the proportions right.
Step 3: Define the Head and Face
Now, let’s bring that circle to life! Add guidelines to place the eyes, nose, and mouth. Remember, most dogs’ eyes are typically placed towards the sides of the head, not front-facing like humans.
Step 4: Outline the Body and Legs
Using your basic shapes as a guide, start refining the body’s outline. Pay attention to the breed’s specific characteristics – is it sleek like a Greyhound or fluffy like a Pomeranian?
Step 5: Add Fur Texture
Here’s where your dog starts to look, well, doggier! Use light, feathery strokes to suggest fur. The direction of your pencil strokes should follow the natural growth of the dog’s coat.
Step 6: Refine the Face
It’s time to bring personality to your pup! Carefully detail the eyes, nose, and mouth. The eyes are particularly important – they’re the windows to the soul, even in drawings!
You may want to Read: Wants and Needs Lyrics – Drake ft. Lil Baby
Step 7: Shade the Drawing
Shading brings depth and dimension to your drawing. Start with light shades and gradually build up darker areas. Remember, the light source will determine where your shadows fall.
Step 8: Add Final Details
Now for the finishing touches! Add whiskers, refine the fur texture, and sharpen any lines that need it. This is also a great time to erase any remaining guidelines.
Step 9: Optional: Add Color
If you’re feeling adventurous, why not add a splash of color? Colored pencils or watercolors can bring your drawing to life. Start with light layers and build up the intensity gradually.
Tips for Drawing Dogs: Tricks of the Trade
- Observe real dogs: Nothing beats studying the real thing. Sketch dogs at the park or your own pets.
- Practice regularly: Set aside time each day for sketching, even if it’s just for 15 minutes.
- Be patient: Rome wasn’t built in a day, and neither is drawing skill. Keep at it!
- Experiment with different breeds: Each breed presents unique challenges and learning opportunities.
- Use reference lines: These help maintain proportions and symmetry.
Understanding Dog Anatomy for Better Drawings
To truly capture a dog’s essence, you need to understand what’s going on under all that fur. Here’s a quick breakdown of key anatomical features to keep in mind:
You may want to Read: From The Start Lyrics – Laufey
| Feature | Description | Drawing Tip |
|---|---|---|
| Skull | Varies by breed, from flat-faced to long-snouted | Pay attention to the angle between the snout and forehead |
| Ears | Can be floppy, erect, or anything in between | Note how the ears connect to the head |
| Legs | Front legs are straight, back legs have a distinctive “S” curve | Use the elbow and knee joints as key reference points |
| Tail | Position and shape vary widely between breeds | Observe how the tail connects to the body and its natural position |
Exploring Different Styles in Dog Drawings
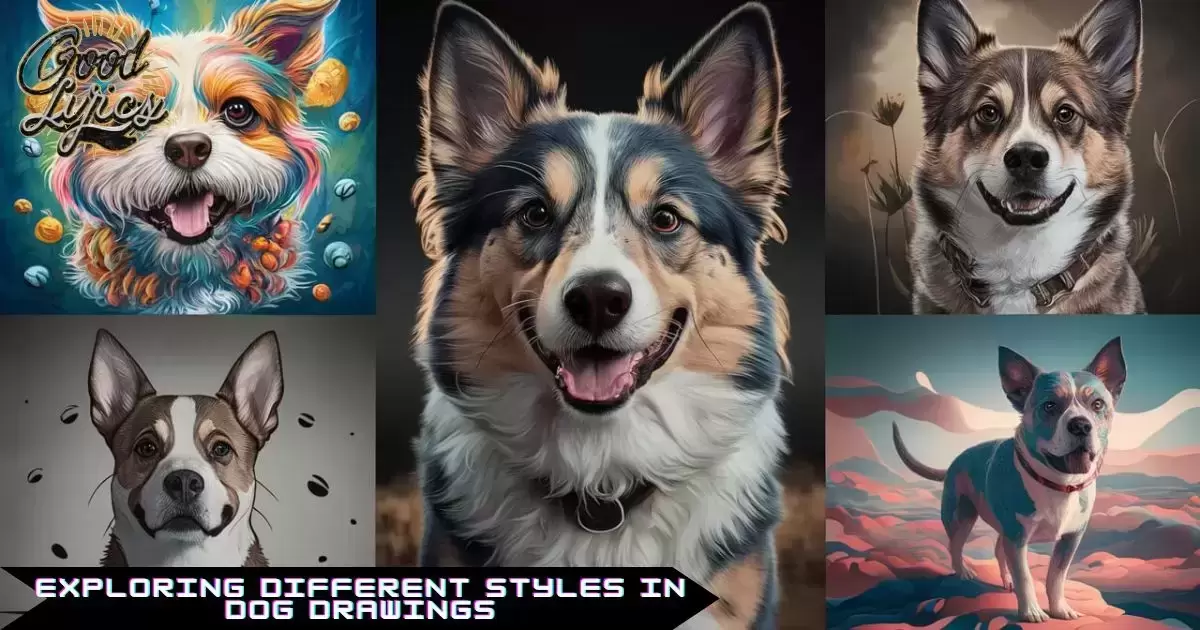
Don’t be afraid to let your creativity run wild! Here are some styles to experiment with:
- Realistic: Strive for lifelike representations with accurate proportions and details.
- Cartoon: Exaggerate features for a fun, playful look.
- Abstract: Focus on capturing the essence of the dog using shapes and colors.
- Mixed media: Combine traditional drawing with collage or digital elements.
Remember, the key to developing your own style is practice and experimentation. Try different approaches and see what resonates with you!
Developing Your Skills: A Lifelong Journey
Drawing dogs, or any subject, is a skill that grows with time and practice. Here are some strategies to keep improving:
- Maintain a sketchbook: Carry it everywhere and sketch whenever you can.
- Study other artists: Analyze how they tackle different aspects of dog drawings.
- Join art communities: Share your work and get feedback from fellow artists.
- Take classes: Consider workshops or online courses to learn new techniques.
Remember, every master was once a beginner. The most important thing is to enjoy the process and let your love for dogs shine through in your art. So grab your pencil, find a furry friend to sketch, and let your creativity off the leash.
FAQs
How to draw a full body of a dog?
Full body dog: Start with basic shapes, ovals for body and head, cylinders for legs. Connect the dots, add details, and voila! A canine masterpiece emerges.
How do you draw a dog figure?
Dog figure: Think “building blocks.” Sketch a body oval, head circle, and leg rectangles. Refine the shapes, add fur texture, and watch your 2D pup come to life!
How do you draw a dog D?
Dog “D”: Curve the straight line of a “D” into a dog’s back. Add legs, tail, and a circular head. Presto! Your letter’s gone to the dogs (in the best way).
How to make a cute puppy drawing?
Cute puppy: Big eyes, floppy ears, and a slightly oversized head are your secret weapons. Add a tiny body and stubby legs for maximum “aww” factor.
How to draw a husky dog?
Husky: Focus on those striking blue eyes and pointed ears. A fluffy double coat and curled tail are must-haves. Don’t forget the wolfish grin!
How do you draw a boy?
Boy: Begin with a simple stick figure. Flesh it out with basic shapes, oval for the head, rectangle for the body. Add facial features, hair, and clothes to bring your little dude to life.
Conclusion
As we wrap up our tail-wagging adventure in dog drawing, remember that every sketch is a step forward on your artistic journey. Drawing dogs isn’t just about capturing their physical form it’s about bringing their spirit and personality to life on paper. With each line you draw, you’re not only improving your skills but also deepening your connection to these incredible animals.
Whether you’re sketching a playful pup or a dignified old hound, the key to success lies in practice, observation, and a healthy dose of canine appreciation. So keep your pencils sharp and your inspiration flowing. The world of dog drawing is vast and varied, offering endless opportunities to explore, create, and grow as an artist.
As you continue to hone your craft, you’ll find that drawing dogs becomes more than just a hobby it becomes a way to celebrate the joy, loyalty, and unconditional love that dogs bring into our lives. So grab your sketchpad, find a furry muse, and let your creativity run free in the wonderful world of dog drawing.

With two years of experience in the lyrics niche, I’ve honed my skills in writing engaging content that resonates with music enthusiasts. My passion for lyrics drives my work.